
The Slim Fit Holsters X-Legion EDC Belt uses a ratcheting buckle system that allows you to quickly fine-tune the fit. Before wearing your belt, you’ll need to size it and attach the buckle.
Step 1: Remove the Buckle
Using the supplied hex wrench, remove the screws on the back of the buckle.
Open the buckle clamp and remove the belt from the buckle.
Step 2: Measure the Belt
Start with your pant size and add 6 inches to determine your starting belt length.
Example: If your pant size is 36 inches, measure the belt to 42 inches.
Use a measuring tape or ruler to measure from the end of the belt and mark the location where you need to cut.
We recommend cutting conservatively. You can always trim more material off if needed, but you cannot add it back once it has been cut.
Step 3: Cut the Belt
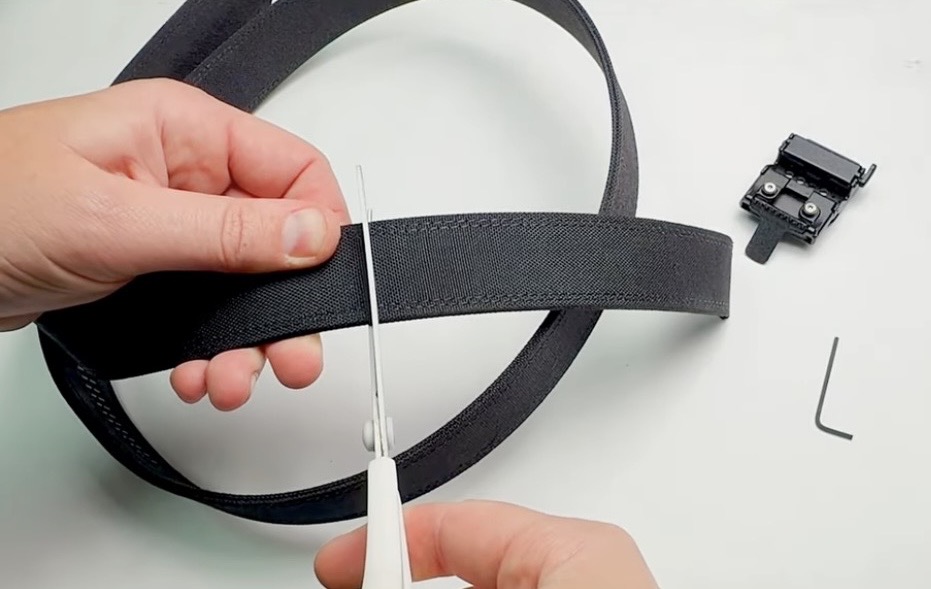
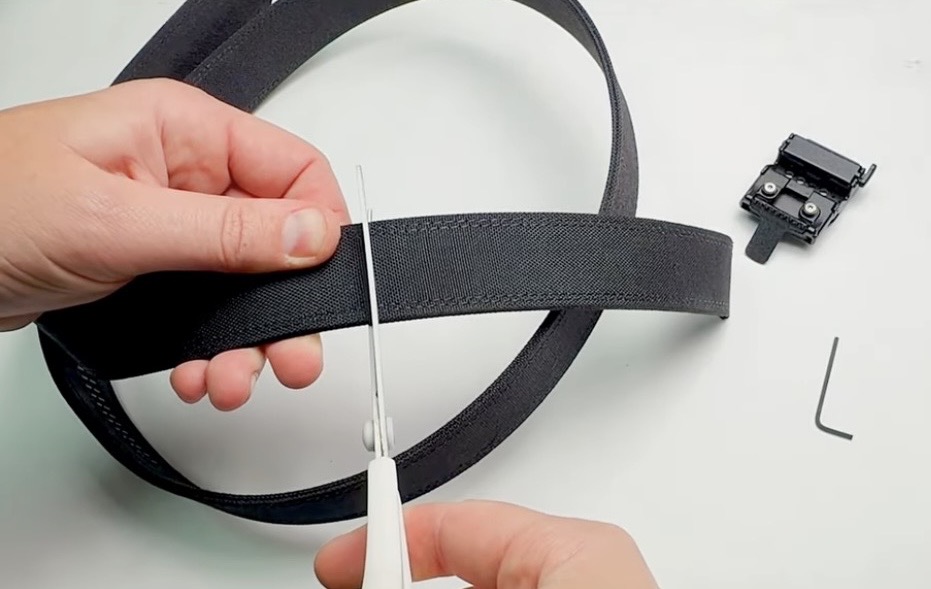
Once you’ve measured and marked the correct length, use a sharp pair of scissors to make a clean, straight cut across the belt.
Step 4: Attach the Buckle
Insert the freshly cut end of the belt completely into the buckle.
Close the buckle clamp so the teeth securely grip the belt.
Reinstall the screws and tighten them until they are secure.
Step 5: Adjust the Fit
Put the belt on and feed the end through the buckle.
Push the belt through the ratcheting buckle until it feels secure and comfortable.
The ratcheting system allows you to make small adjustments throughout the day without removing the belt.
To loosen or remove the belt, press the release lever underneath the buckle and pull the belt back through.
Watch the Adjustment Video
For a complete visual walkthrough, watch our X-Legion EDC Belt Sizing & Adjustment Video:
Watch the X-Legion EDC Belt Adjustment Video
The video demonstrates how to measure, cut, attach the buckle, and adjust your X-Legion EDC Belt for the proper fit.
Need Help?
If you have any questions about sizing or adjusting your X-Legion EDC Belt, contact Slim Fit Holsters and we’ll be happy to help.